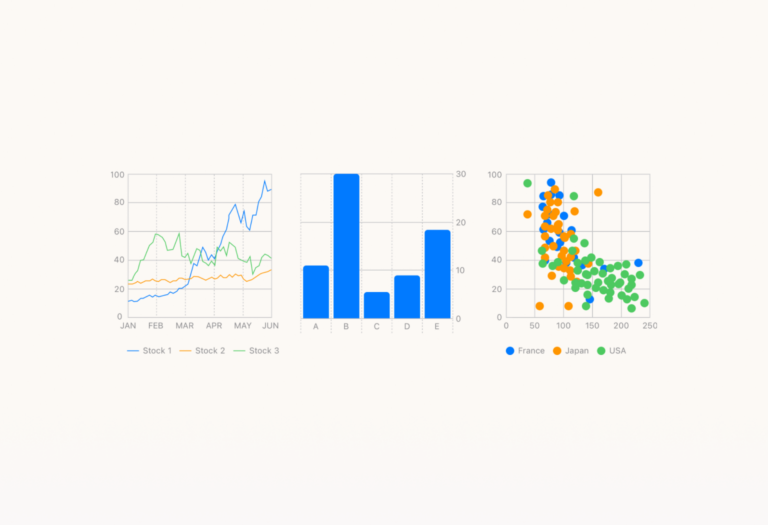
How save time with the new Swift Charts feature in Swift WWDC 2022 brought new updates to the community-beloved native language for the Apple environment. Swift is back with a lot of improvements and new capabilities to help developers deliver world-class apps with ease by enhancing swift charts for data. In this blog, we’re checking […]
Getting Started With Svelte.js

Andri Muhammad
September 15, 2020
7 Mins Read
What is Svelte?
Svelte is a modern javascript framework that enables you to build web applications using components. It has similar features to other javascript frameworks like React and Vue. It is a reactive web framework, which means that it responds to user events in order to change the display of the application.
Why should we choose Svelte?
There are already javascript frameworks out there which are matured and have relatively complete features. Why should we have another one? Well, svelte offers something which is different from existing frameworks. It is not just a framework, it is also a lightweight javascript compiler that transforms your svelte code into fully functioning javascript code.
Installing and Running Svelte
The easiest way to install a svelte application is by using a tool called degit. It is made by Rich Harris, the creator of svelte, and it requires node and npm, so you have to make sure that those tools are already installed in your computer.
To create a new svelte project, you run the following command in a terminal:
npx degit sveltejs/template my-projectThe command will get the svelte template and create a new project with the name my-project.
After you do that, you change your directory to the newly created project and install all the modules required by svelte using the command
cd my-project
npm install
When all the dependencies have been installed, we can run the application using this command:
npm run dev
You can check out the running application in the browser by typing this address
http://localhost:5000.

If you are ready to deploy to production, you can use this command:
npm run buildThis will create an optimized version of the code that is fit for the production environment.
Web development with svelte
The essential parts of a Svelte component consist of three sections: <script>, <style>, and html markup. You write the components into .svelte files which later will be compiled into javascript when you build or run the application.
An example of a svelte component from the template looks like this:
<script>
  export let name;
</script>

<main>
  <h1>Hello {name}!</h1>
  <p>Visit the <a href="https://svelte.dev/tutorial">Svelte tutorial</a> to learn how to build Svelte apps.</p>
</main>

<style>
  main {
    text-align: center;
    padding: 1em;
    max-width: 240px;
    margin: 0 auto;
  }

  h1 {
    color: #ff3e00;
    text-transform: uppercase;
    font-size: 4em;
    font-weight: 100;
  }

  @media (min-width: 640px) {
    main {
      max-width: none;
    }
  }
</style>
You can look at the code at src/App.svelte from the starter template to see how it is written.
a) Script
When you write svelte components, you put your javascript code at the script section. This section contains variable imports or declarations which can be accessed from the component’s markup.
A component in svelte can communicate with other components through a variable designated as property or prop. To mark a variable as a property, you can use the ‘export’ keyword on the variable declaration. By doing that, it becomes accessible to other components that use this component.
<script>
    export let name;
</script>
b) Style
Style in svelte is scoped only to a component. When you compile a component, svelte will add a css class every element in the component. For example, if you have an <h1> element in your component, svelte will modify it to <h1 class=”svelte-1ktbtly”> so that the style will apply only to that component. You can also have a global style, such as when you want to theme your app, by putting the style in a public/global.css file.
<style>
  h1 {
    color: #ff3e00;
    text-transform: uppercase;
    font-size: 4em;
    font-weight: 100;
  }
</style>
c) Markup
The markup section contains HTML elements that you can add to make up your component. You can also insert javascript expressions inside single curly brackets ‘{}’ which the value will be rendered in the output.
<main>
  <h1>Hello {name}!</h1>
</main>
Other than that, svelte allows you to conditionally render part of your markup using {#if..} tags or iterating on a list using {#each..} tags.
Conditional:
{#if register}
    <SignUp />
  {:else}
    <SignIn />
  {/if}
Iteration:
  {#each todoList as todo}
    <TodoItem />
  {/each}
If you already know some JS, CSS, and HTML, it will be easy for you to pick up Svelte quickly and become productive.
Development Options
There are several deployment options for you to choose from when you are ready to deploy your Svelte application. The first option is through static deployment as a single page application. This is the default deployment for a svelte application. You just need to copy the index.html file with its supporting folders to a web server of your choice or to any cloud provider which can host static websites. In this way, your application uses a client-side rendering technique to display the page. The benefit of this approach is that it has a small footprint and it only needs a static host. The downside of this approach is that it is worse for search engines optimization, so it only makes sense for an internal facing application like a content management system or a back office application.
The second approach is static deployment as a pre-rendered web application. It means that the pages in your application will be rendered at build time using server-side rendering techniques via Sapper (https://sapper.svelte.dev), an application framework which wraps Svelte components. Sapper has many features such as server-side rendering, code-splitting, filesystem-based routing, and lots of other stuff. The benefit of using this approach is that it is great for SEO and it only requires a static host. The downside is that you have to rebuild your app every time you have data changes. The situation which makes sense to use this approach is when you have an application where the data does not change frequently, such as a blog or a portfolio site.
The third option is Server Side Rendering deployment as a dynamic pre-rendered web application. You use this approach via sapper which pre-renders every page on-the-fly. So basically it means that every time a user requests a page, the server will populate the page with data and display it to the client browser. The benefit of this approach is that you can have a high performance web application and it is also SEO friendly. The downside is that you need a node.js server to host your application.
Conclusions
If you are a beginner developer or a backend developer who knows some JS, CSS, HTML but no UI frameworks or libraries and you have to train quickly to be productive, you can choose Svelte as the framework for your next project. Svelte is easy to pick up and does not have a steep learning curve. By using svelte, your application will have a small footprint and high performance.
Find Out More:
- Svelte Basics Tutorial
- Sapper – a web application framework powered by Svelte
- madewithsvelte.com – A Collections of web projects made with Svelte
- sveltematerialui.com – Material UI Components for Svelte 3
Written by
Andri Muhammad
More Articles

Eibiel Sarjanto
July 12, 2022
4 Mins Read